Upload the image file. Adjust the available settings for the tool.
JPG / PNG / WebP / GIF supported
What this tool does
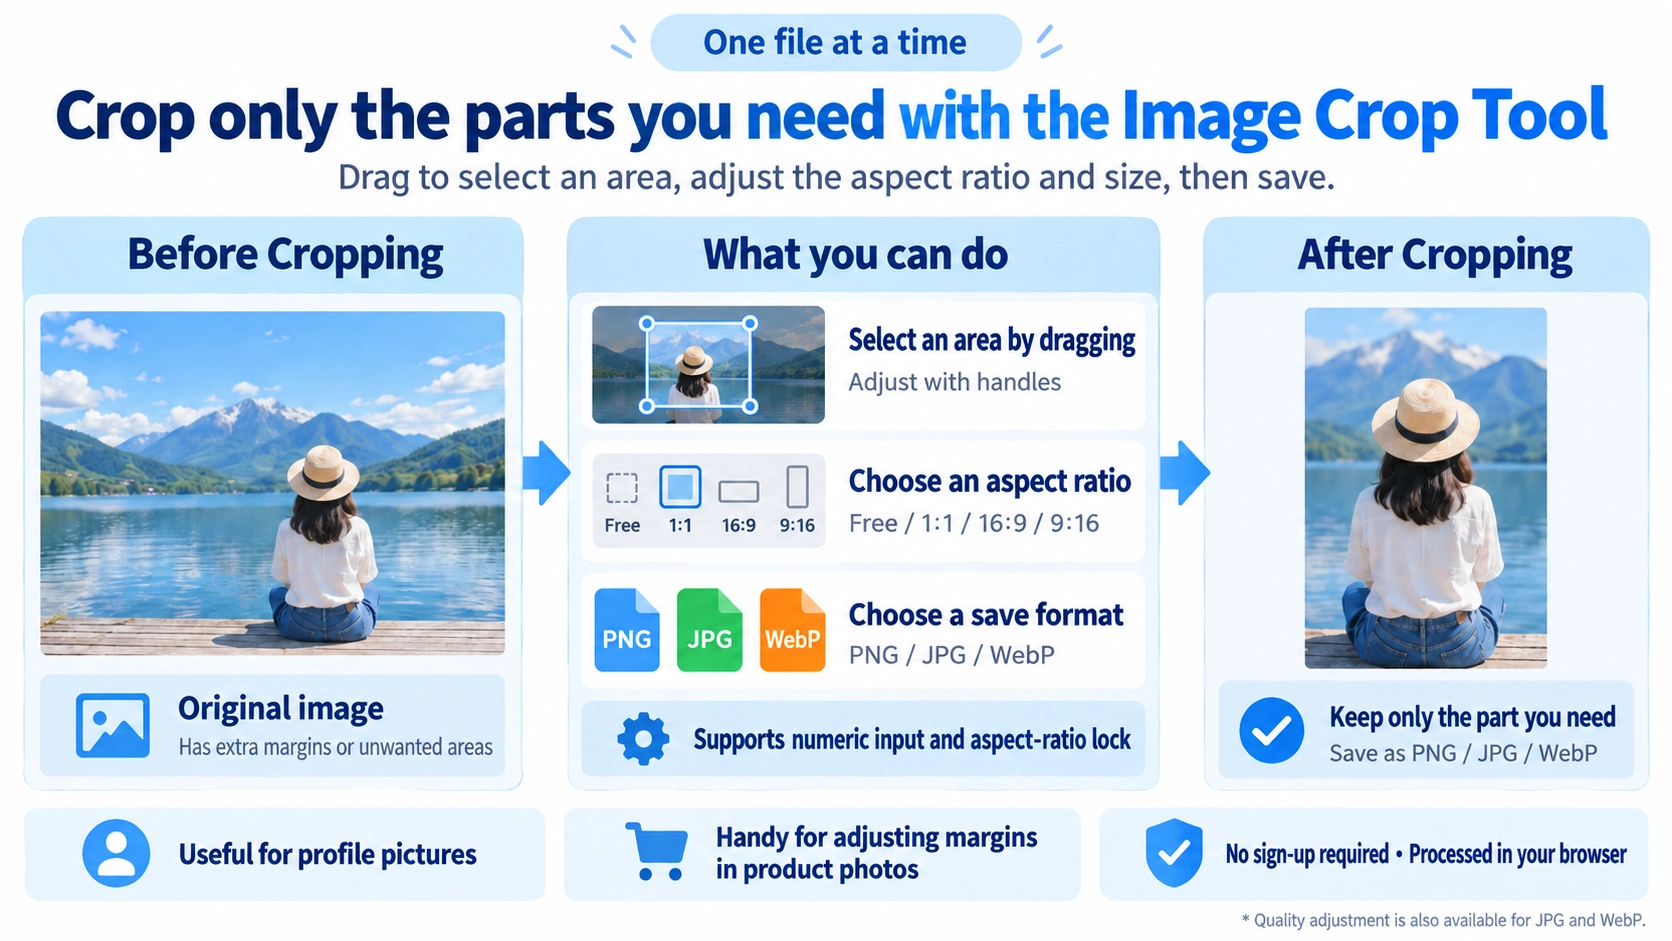
Crop an image by dragging a selection, choosing aspect ratios such as 1:1 or 16:9, or entering precise pixel dimensions.
How to use it
- Upload an image and choose free cropping or a preset aspect ratio.
- Drag the crop area in the preview, or enter the desired crop dimensions.
- Select PNG, JPG, or WebP and adjust quality if available.
- Click “Output” to save the cropped image.
Supported input and notes
Cropping is useful when only part of a photo is needed. Fixed aspect ratios simplify preparation for social posts and banners. Cropping a low-resolution image may leave too little detail.
When it is useful
Useful for removing unwanted edges or preparing an image for a specific aspect ratio.
Crop vs Resize
Cropping removes areas outside the selected rectangle. Resizing keeps the whole image and changes its pixel dimensions. Use cropping to remove unwanted edges or background; use the Image Resizer when you want to keep the full image.
Aspect Ratios
1:1
A square crop with equal width and height, useful for profile images and square assets.
16:9 / 9:16
16:9 is landscape and 9:16 is portrait. Choosing a preset constrains the crop rectangle to that ratio.
Free
No fixed ratio is applied, so you can drag and resize the rectangle freely.
Pixel Dimensions
The W and H fields set the crop rectangle dimensions in pixels. Values are limited to the remaining area between the current crop position and the image edge.
Social Media Sizes
- Choose a ratio
Use 1:1 for a square or 9:16 for a vertical crop. - Move the crop area
Drag the rectangle so the person, product, or important subject stays inside it. - Resize afterward if needed
If the destination requires exact pixel dimensions, use the Image Resizer after cropping.
Output Size
The output width and height are exactly the pixel dimensions of the selected crop area. For example, cropping an 800×800 px area from a 2000×1500 px image produces an 800×800 px output.
Output Formats
PNG
PNG is exported without a quality slider and can be used when transparency needs to be preserved.
JPG
Quality can be set from 1 to 100. Because JPG cannot store transparency, this tool fills transparent pixels with white before export.
WebP
Quality can also be set from 1 to 100, making it useful when you want WebP output for web use.
Before Saving
The downloaded cropped image does not contain pixels outside the selected area. The original file itself is not overwritten, so you can reload the source image and crop it again.
FAQ
Does “Free” mean a free-form shape?
No. The crop area is always rectangular. “Free” means the rectangle is not locked to a preset aspect ratio.
Can I crop multiple images at once?
No. This page processes one image at a time.
Is there a file-size limit?
Yes. The implementation rejects files larger than 50 MB.
Will cropping always reduce file size?
Not necessarily. File size also depends on the output format and quality. If reducing bytes is your main goal, use the Image Compressor.