Upload the image file. Adjust the available settings for the tool.
JPG / PNG / WebP supported
What this tool does
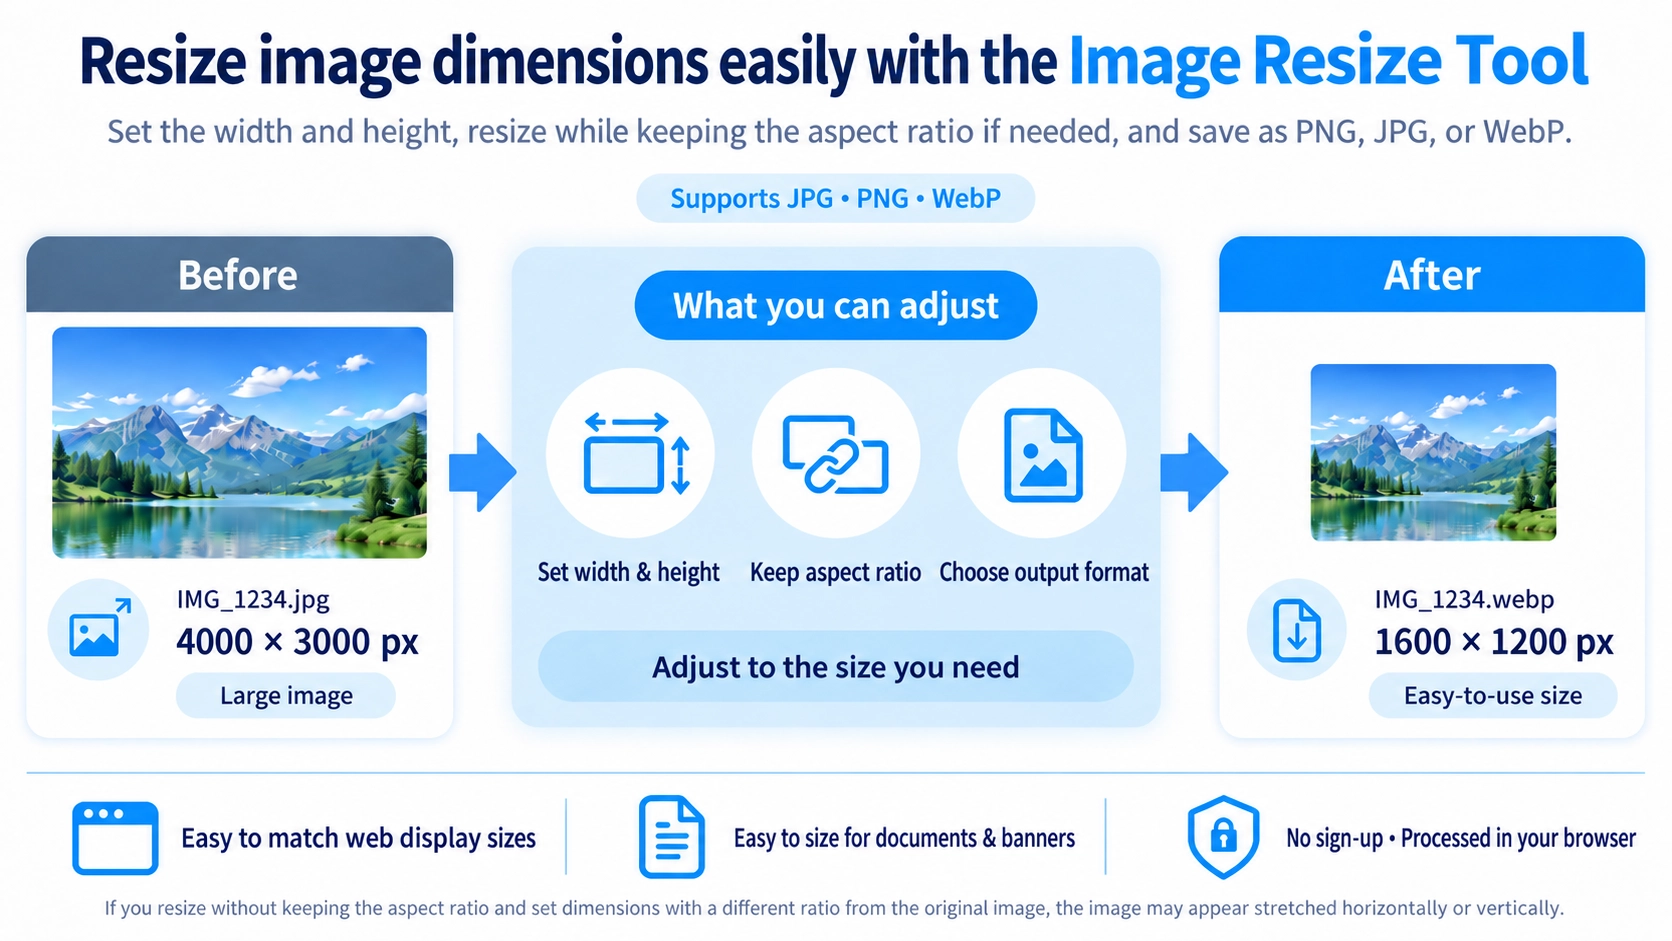
Resize an image to a specified pixel width and height. Keep the original aspect ratio if needed, and save as PNG, JPG, or WebP.
How to use it
- Upload the image you want to resize.
- Enter the target width and height, and choose whether to keep the aspect ratio.
- Select PNG, JPG, or WebP as the output format.
- Click “Convert” and save the resized image.
Supported input and notes
Typical inputs include JPG, PNG, and WebP. Turning off “Keep aspect ratio” and entering a different width-to-height ratio will stretch or squash the image. Check output dimensions before saving.
When it is useful
Useful for meeting image dimension limits or preparing photos for web and presentation use.
What is image resizing?
Image resizing changes the width and height of the entire image without cropping away any part of it. For example, a 4000×3000 px photo can be reduced to 1200×900 px while keeping the same visible area.
This tool lets you enter the width and height in pixels. When “Keep aspect ratio” is enabled, changing one dimension automatically updates the other to preserve the original proportions.
What are pixels? Image dimensions and file size are different
Image dimensions
Values such as 800×600 px or 1920×1080 px describe the number of pixels across the width and height of an image.
File size
File size is the amount of data measured in KB or MB. Two images with the same pixel dimensions can have very different file sizes depending on format and image content.
How do I resize without stretching the image?
Aspect ratio is the relationship between an image’s width and height. Forcing an image into a different ratio can make people, products, and shapes look stretched or squeezed.
- Keep “Keep aspect ratio” enabled
It is enabled by default. - Change either the width or the height
The other value is recalculated automatically from the original aspect ratio. - Check the preview
When the dimensions look right, convert and save the resized image.
Resize, crop, or compress: which should I use?
Resize
Use resizing when you want to keep the whole image but change its width and height, such as reducing a photo to 1200 px wide.
Crop
Use Image Crop when you want to remove part of the image, make it square, or cut away unwanted edges.
Compress
Use Image Compressor when your main goal is to reduce the KB or MB file size rather than the pixel dimensions.
Convert format
Format conversion changes the file type. This resizer can save the resized result as PNG, JPG, or WebP.
What size should I use for different purposes?
There is no single correct pixel size for every website, email, social platform, or store. The best size depends on the destination and actual display width. A useful rule is to avoid serving an image that is much larger than it will be displayed.
Websites and blogs
Use the size the image actually needs on the page. A very large camera image is usually unnecessary when it is displayed much smaller.
Email and chat
If recipients only need to view the photo on screen, the full camera resolution may be unnecessary. If the resized image is still large in MB, combine resizing with compression.
Social media
Platforms use different aspect ratios and recommended dimensions. If you need a specific ratio, cropping may be required in addition to resizing.
E-commerce product images
Consistent image dimensions can make product grids look cleaner. Preserve the aspect ratio so products are not distorted.
Why does a small image become blurry when enlarged?
A small image contains a limited number of original pixels. Enlarging a 400×300 px image to 1600×1200 px does not restore detail that was never present in the source, so edges can look soft or pixelated.
Why does my image stretch when I enter 1920×1080?
If the source image has a different aspect ratio and you disable “Keep aspect ratio,” the entire image is forced into the exact width and height you entered.
To fit a specific ratio such as 1920×1080 without distortion, first use Image Crop to crop to the target ratio, then resize to the final pixel dimensions.
Does resizing reduce image quality?
- Reducing size: fewer pixels remain, so some fine detail is removed. At the intended display size, however, the difference may not be noticeable.
- Enlarging: missing source detail cannot be recreated, so large enlargements tend to look softer.
- JPG and WebP output: this tool saves JPG and WebP through the browser with a quality value of 0.92, so the output is not guaranteed to have exactly the same compression characteristics as the source file.
- PNG output: PNG can preserve transparency. Choose PNG when retaining transparency is important. WebP also supports transparency, but check the saved image after export.
Image Resizer FAQ
Can I set only the width and have the height calculated automatically?
Yes. With “Keep aspect ratio” enabled, changing the width recalculates the height from the original ratio. Changing the height works the same way for the width.
Can I make an image square?
You can enter equal width and height values with aspect ratio disabled, but a non-square source will be distorted. To make it square without stretching, crop it first with Image Crop.
Will resizing always reduce the file size?
No. Reducing pixel dimensions often reduces the file size, but the result also depends on the output format and image content. If your main goal is a smaller file, use Image Compressor after resizing.
Can I resize multiple images at once?
This page processes one image at a time. To apply resizing to multiple images, use Bulk Image Resizer.
Are my images uploaded to a server?
This resizer processes the selected image in the browser using Canvas. The resizing workflow does not send the image to a server for processing.